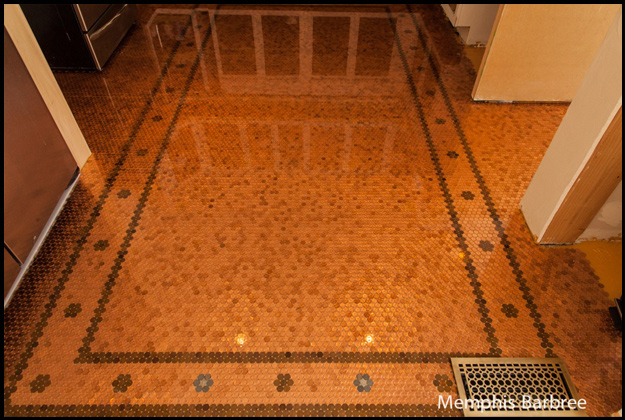
 DIY projects are always a fun challenge and they add personality to your home. Lately more people have been using pennies as their flooring in their homes. This project may seem daunting, but honestly, it just takes time. The actual process takes less than ten steps. Penny flooring adds an eclectic style to a room, and the warm hue of copper makes a room more inviting.
The first step in this project is to remove any base molding through the entire perimeter of the room. After everything is removed, measure the room mass to figure out how many materials are needed. The second step is to even out the floor. Make sure to sand down any bumps, fill in valleys with masonry materials, and make sure the floor is completely even. The third step consists of using a degrease detergent and then a detailed rinsing. While the floor is drying, sort through the pennies to pick the ones you will use.
The fourth step is where you will cut squares of self-sticking fiberglass and keep the squares’ measurements to 6″x6″ or 12″x12″. Using the room measurements from earlier, you can figure out how many squares you will need for the room. During the fifth step, you will put the squares sticky side up and place the pennies on the square. Make sure the pennies are lined up against each other.
The sixth step is where you will use a chalk snap line to measure both the length and width of the room. You will use the chalk snap to create a checkered grid pattern for the penny squares. Make sure the grid pattern is the right size for your squares. During the seventh step, you will start at the back of the room, and you will apply an apoxy-based clear adhesive with a paintbrush to the inside area of your chalk lined square. Place the penny square in place and press the center and corners firmly. Continue this process with the entire floor, and let it dry for six hours.
For the eighth step, you will mix the grout and water in a bucket. Spread the mixture over the penny tiles in smooth strokes with a rubber grout float. Wipe away the access and let it dry for 72 hours. The last step deals with putting a glaze on the flooring. Mix a clear two-part epoxy sealer with UV blocker, which prevents yellowing. Pour a coating over the tiles and grout. Spread this coating consistently, let it dry another 72 hours, and then the project is finished.
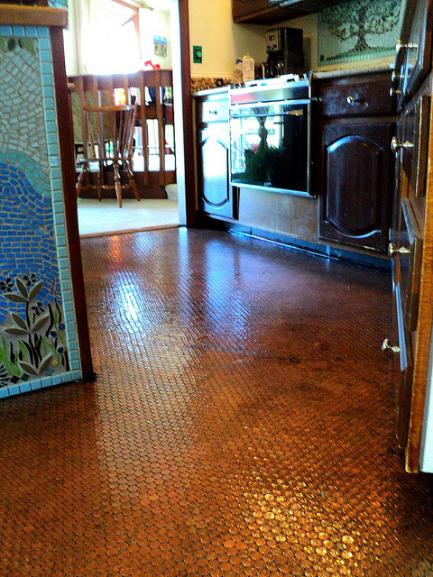
This project takes time and it may feel like a lot of work, but it is worth every minute of work. A penny flooring is beautiful and everyone will know that you worked hard on this project.